So, I've had dozens and dozens of requests for Minnie Mouse favors, matter o fact I have another 4 dozen this coming Sunday.(wooooo) don't get me wrong I love Minnie but Geeze what about Mickey. Well I stuck my foot in my mouth on that one. Lol. I love my repeat customers and Ms. Akia W. throws the best parties for her little ones. This year her sons 3 rd bday theme was Mickey Mouse Club House and I got to do his favors. Yeah. Akia wanted pops, mini favors, and..... candied apples. So I began searching and found Disney makes these fabo Mickey and Minnie apples. Looked simple enough (that I didn't need to test before hand) so I agreed and took the order. She only wanted a few and I was soooooo glad after I began making them. Ok ok ill get to it so you know just how difficult these things were to make.
First.... Gather your Ingredients!!!
Then Prep Everything.... ((still the easy part))
Wash your apples, poke them with lolli sticks, and begin to wrap them in caramel....
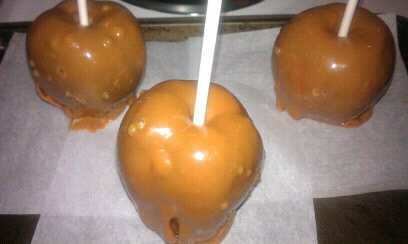
Following the package directions, wrap, stretch, and smooth the caramel wraps on each apple.
After baking at 200 for 5 min, the caramel looks oooie and gooie, and just a bit bumpy, lol.
freaked me out for a min there. I just smoothed these later for even choc application.
Next comes the Chocolate.... My favorite part!!
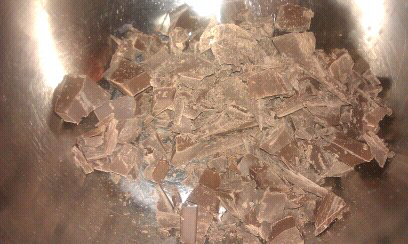
I shaved about 16oz milk chocolate and melted it in a double boiler until smooth and creamy...
While my chocolate was melting and caramel was cooling, I took my marshmallows and began to stick them to my apples. They don't stick to well on their own so I used toothpicks to help. ((remember to remove them after you are done)) Wooden skewers work also. I didn't get a picture of them at this point... probably because I was freaking out at this point.
Chocolate stirring with one hand, while I ward off the baby and husband from eating all the un used sweets.
I felt like just chowing down on the apples and calling it a night... But the show must go on.
So here's what I did next...
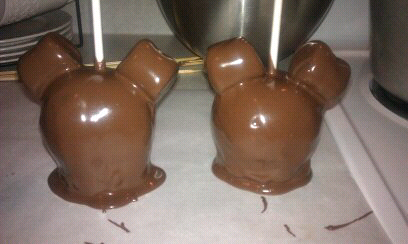
I began to dip apples in chocolate :0)
After letting them dry, I found a few runny spots, so I just dipped again, and again, and again...
Until I was happy with the finish.
Lets just say they were really full of chocolate. lol...
Now again at this point I was trying to get my apples picture perfect, and not worrying about actually taking the pictures, so again no pictures.... But Ill explain as best as possible.....
when the chocolate is dry, 20-30 min in the fridge
remove them and chip the little bottom layer off (the drip where the apple sat)
this works best if you use a sharp knife and leave the apple in the standing position. Hold it steady and press down with your knife. Waalah. Definitely after getting this far you do not want to mess up ((again))
Now comes the fun part.... making Mickey Pants.
The recipe calls for thin white icing. I think melted white candy coating would work best...
for this exact reason....
see how uneven my red line is. ((I later fixed this))
Its uneven because the icing wouldn't stick to the chocolate.... very frustrating at this time lol.
To achieve this, I dipped the whole apple in the white icing (use melted white candy coating, for better application) and then in the sugar sprinkles. Placed it on a med cupcake liner and waalah. Let this sit in the fridge for a few until its hardens.
I then added little white candy wafers as buttons ((after breathing and consuming a glass of wine, cleaning the chocolate and sugar off of everything, and staring off into space for 30 min))
These apples got the best of me this night...
Akia said they were beautiful, and I did excellent work... I think I did also.
Here is my finished product, all wrapped pretty and ready to go.
Thanks Akia and Happy 3rd Bday Joe Jr.!!
